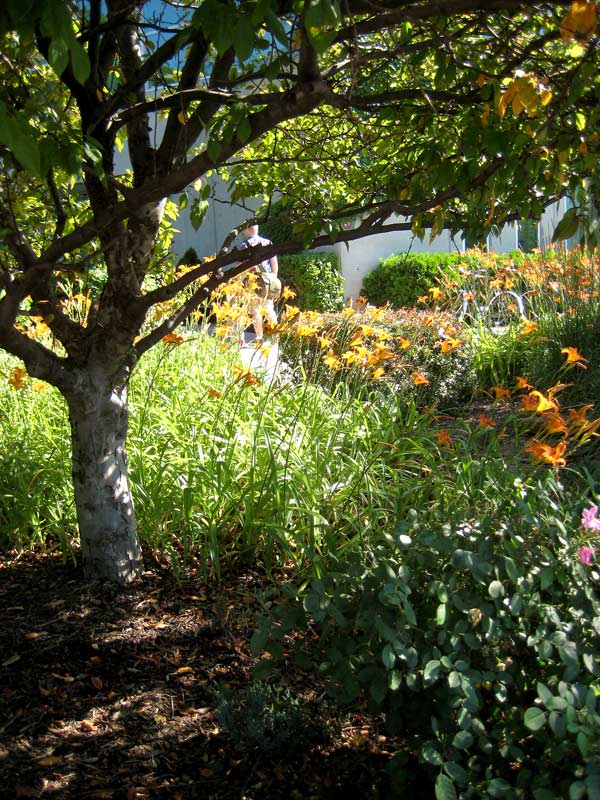
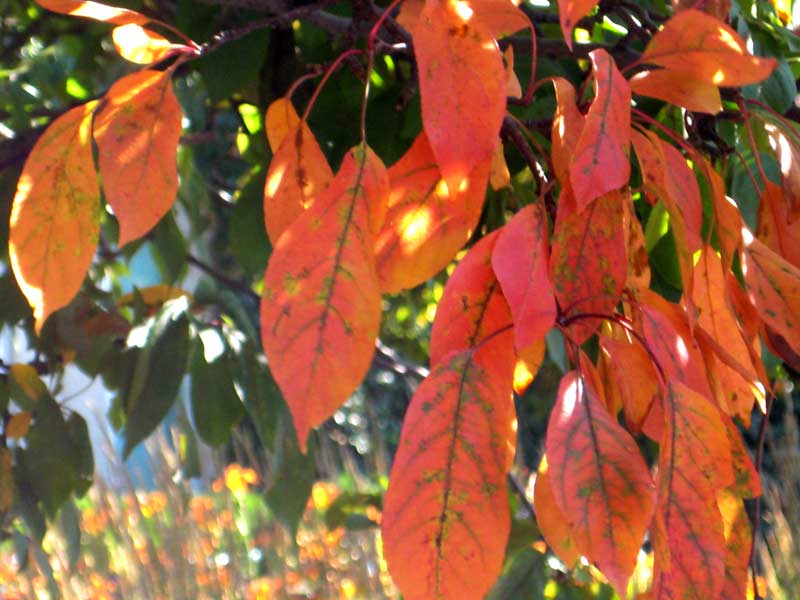
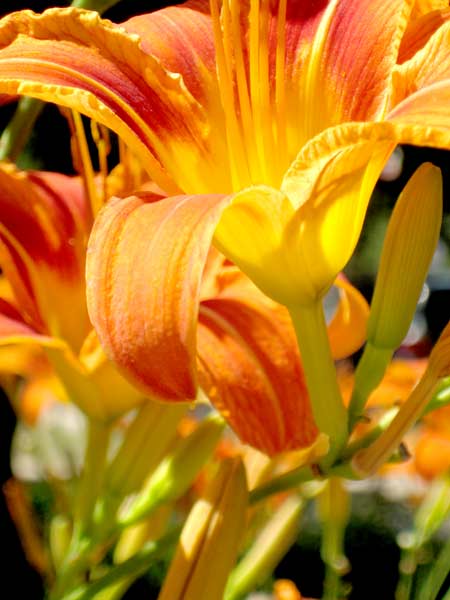
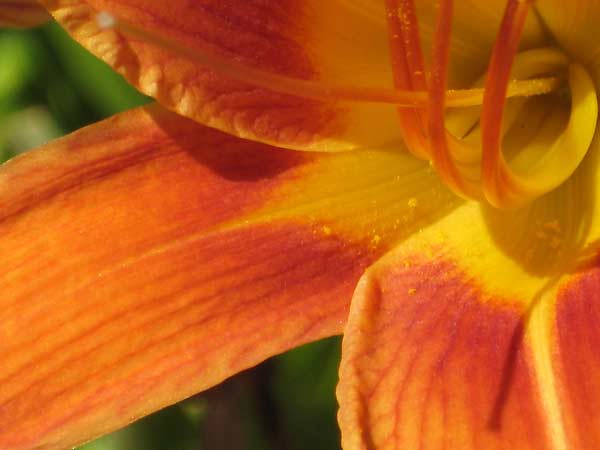
Sunthroughtrees2-sm

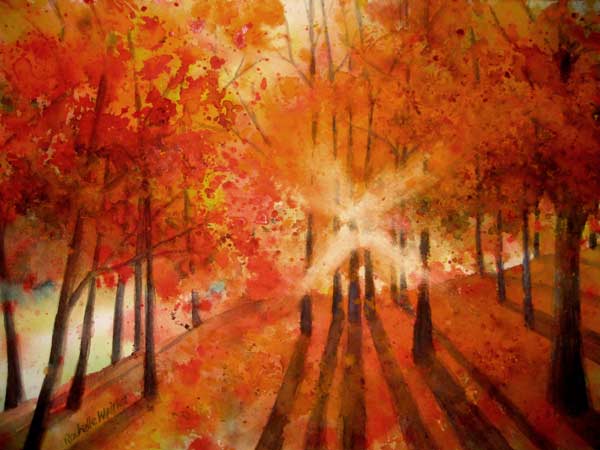
Sun through trees series

I've been getting so many positive responses to my original "Sun through trees" based on a lesson by Karlyn Holman, that I decided to try another one. Kind of fun. The success is all in the vibrant color and the perspective of the shadows. Maybe next time I'll try it grand sized.

Pictured above, "Autumn shine", measures 11" x 15", framed original $400, framed print $150, matted print $50

Daffodilcollage-sm

Size counts

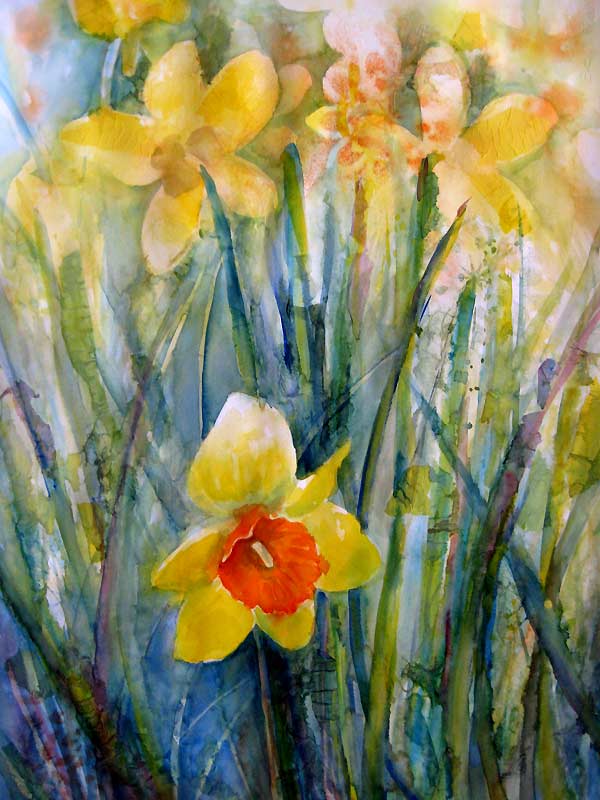
(Pictured above, "Roadside daffodils", watercolor painting, measures 22" x 30", framed original $800.)

For a long time I've been trying to "get big" with my paintings. If you're not familiar with watercolor paintings, it's kind of hard to work big.

First of all since the medium is watery, it makes it mostly impossible to work on an easel - the paint just runs right off. Ok, good for some effects but for the most part it's important to work flat. So, a big piece of paper can get unwieldy, not to mention it's difficult to keep your perspective on a large sheet lying flat in front of you. Best solution I've found so far is to start with a really good drawing which you complete upright on an easel and then when it's lying flat you just follow your drawing.

The second issue is that you have to work fast to make sure the color you put down doesn't dry before you get a chance to make sure you've had a chance to achieve the affect you planned. Trick here is to work big very wet, then put in the details in smaller manageable sections.

However - I love big paintings. The bigger the better. And I have the impression that gallery owners appreciate scale as well - the bigger the painting the higher the ticket price. All good. So - I keep trying to work bigger  - practice, practice, practice.

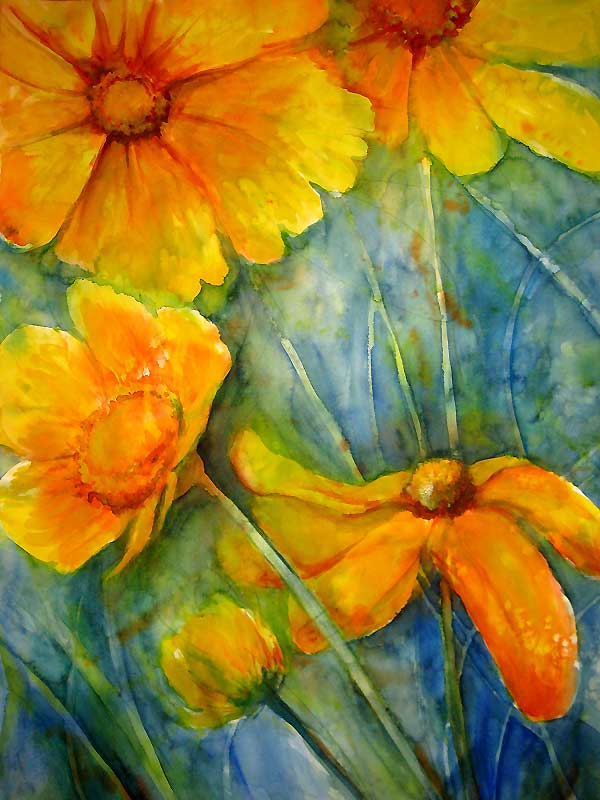
Following are two large scale paintings just finished this weekend.

Yellows

Title: "Yellows", watercolor painting, measures 22" x 30", framed original $800.

flying-sm

Flying dreams

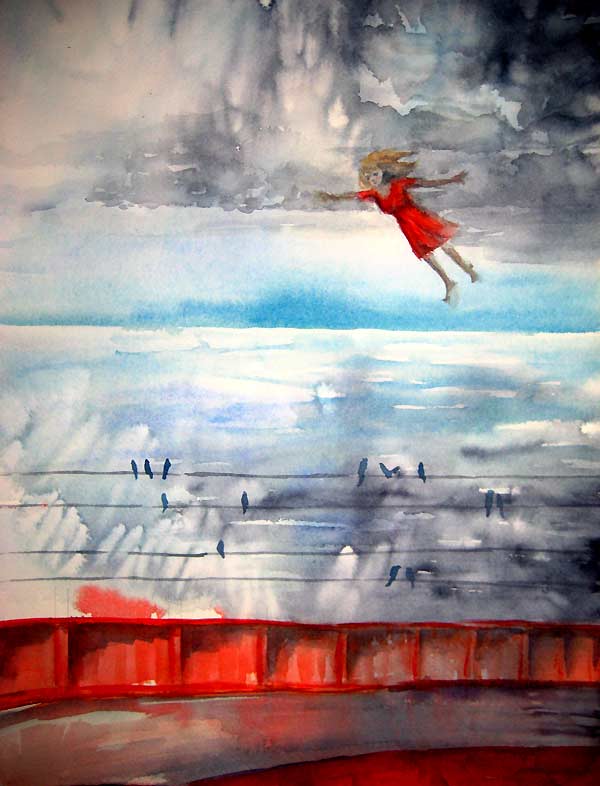
I've been doing a lot of sketching lately - I have been getting inspiration to do a series based on narratives that spring from my dreams. For years now I've been having dreams of flying. Sometimes I'm in a flying contraption, sometimes I'm just floating above the street, sometimes I'm really high, sometimes I'm just above the treetops. What these dreams have in common is I'm always on my own and I'm always unseen by those below.

I've read a lot of interpretations of flying dreams but my favorite is that dreams of flying indicate reaching for higher goals. Nice.

My little sketchbook is full of quick sketches and notes of ideas for this series. I finally put one on paper, see below.

Pictured above, "Dreamflight" - watercolor on Arches 140lb paper

RainyDayPoppiessm

Sold!

Summer white

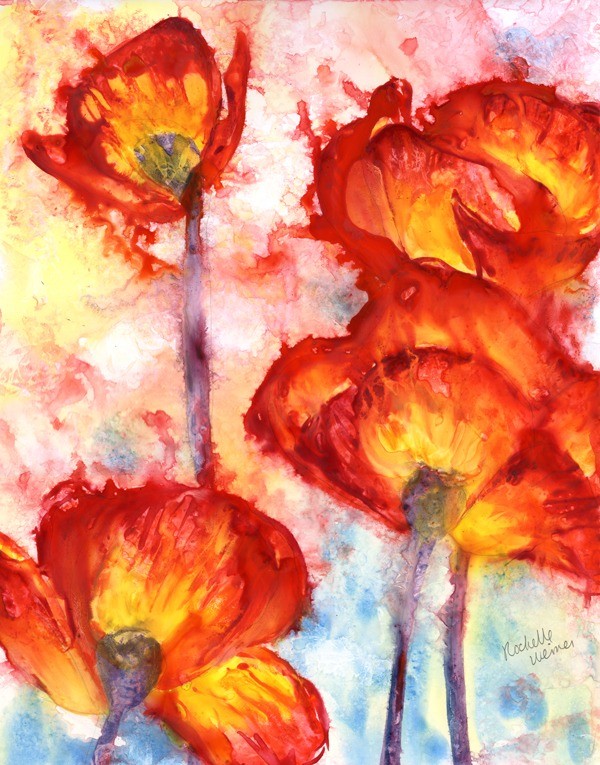
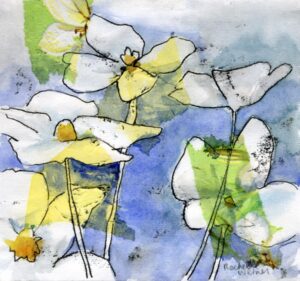
Thank you to Frances Limoncelli and Ben Loomis of Chicago for purchasing the original of "Rainy Day Poppies" tonight at the Galleria! (I knew this team had good taste!) They also took home a print of "Summer white" - one of the monoprint series.

"Rainy day poppies" is the first of a series I am working on using watercolor on Yupo paper. Yupo is a kind of plastic paper. It is totally opposite to traditional watercolor paper as it does not soak up the paint at all and the painting only dries once the water evaporates.

Anyway - I had a lot of fun creating this painting and love that someone else loves it as much as me.

Thanks Frances and Ben!

painter with paintbrush up

Arty bollocks

I had a great time in art school. Loved my classes, loved my teachers, loved being around art all the time. Especially loved learning new techniques and just being free to make things - all the time. It was fabulous.

I only had one problem - other artists.

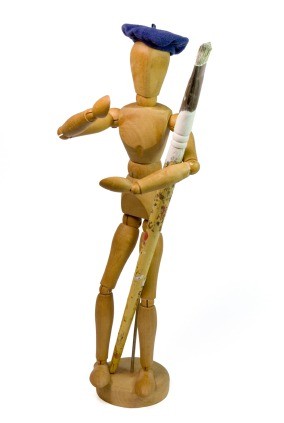
Don't get me wrong - not ALL other artists. In fact most artists are pretty fabulous. But there were the ones - you know who I'm talking about - the ones who give the rest of us a bad name. The "arTEESTs". The proverbial beret and black turtleneck-wearing, mumbo-jumbo talking, flighty and irresponsible, look-down-their-nose-at-you-for-not-getting-it, art jerks. This is the kind of guy who would wear a cape or even carry a cane. Seriously.

There were a few of them in my classes and at least the ones I've met in person were not actually very good artists. But they definitely thought they were. And what they had going for them is the ability to TALK about their art. In high-falutin' terms. Ad nauseum. They talk so long and in seemingly spiraling circles that you lose track of what they're saying and stand there dumbly nodding wondering if you're the idiot or if they're really so up their own behinds that they forgot that their discourse needs to actually make sense at some point.

Problem is, I could really use one of these guys about now. I'm set with the daunting task of writing the proverbial "artist's statement". It is my goal to get into some galleries this summer and one of the things I need to prepare is this statement. When I've looked online for some samples of what these should sound like, I have to say I haven't the slightest how to begin.

I think most artists actually do have trouble putting into words all that they mean in their art. Artists in general are visual thinkers and to try to translate feelings into words seems an insurmountable task. And why bother? After all, your art should speak for itself, right? Wrong. The artist's statement is actually a really important part of selling yourself first to a gallery owner and then to art buyers as well. It is the background about who you are as an artist, what you have to offer the world and how your message can be interpreted. It is very important to get this right. I get it. I just don't know if I'm up to the job.

If you've read much of my blog you will see that I'm pretty straightforward in my communications. I don't go on for ages using esoteric language and citing obscure allusions... I simply write what I'm thinking in regular everyday language. These artist statements are lengthy discourses on influences, reminiscences, philosophies, experiences, social relevance, aspirations, etc. and peppered with so much fluff-talk that the whole exercise seriously makes me want to run the other way.

My good friend Kelly just sent me this link, "Arty Bollocks Generator" which I thought was totally hilarious! I'm thinking seriously of using it, or at least using it as a jumping off point! Just click the button and up pops an artist statement. Chock-full of the high-falutin' talk for which these statements are seemingly known.

Ugh. Well, wish me luck. My guess is my artist's statement will turn out much like the rest of what I write. Concise and informative, and hopefully somewhat interesting or amusing. I just hope it does the trick! Stay tuned!

IMG_4129

Cray pas and watercolor? huh?

I had an idea last week - why not mix cray pas with watercolor? Oil and water could create unexpected and hopefully very cool results.

So, I tried drawing different images and lines on different kinds of paper and then painted watercolor on to it. The oily lines repelled the wet paint and retained the integrity of the lines. Dig it!

This concept allows for some really free design and color applications. Just getting started with the idea so the below are basically tests and experiments, but I have to say, I see endless possibilities!

[nggallery id=9]

IMG_4127

The beauty of wrinkles

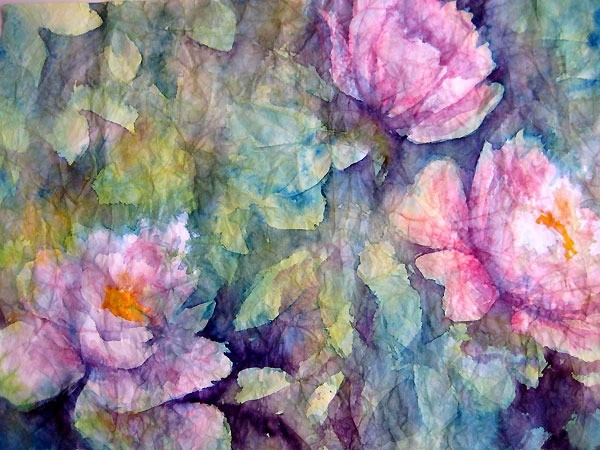
Crinkled masa paper plus watercolor provides some interesting effects.

I've done 4 paintings now, experimenting with this technique, and I have to say I'm really liking the effects you can get. The peonies pictured below turned out really soft and transparent-looking. Almost as if I'd used layers of colored tissue paper to make the image. (Hey - that's another interesting idea!)

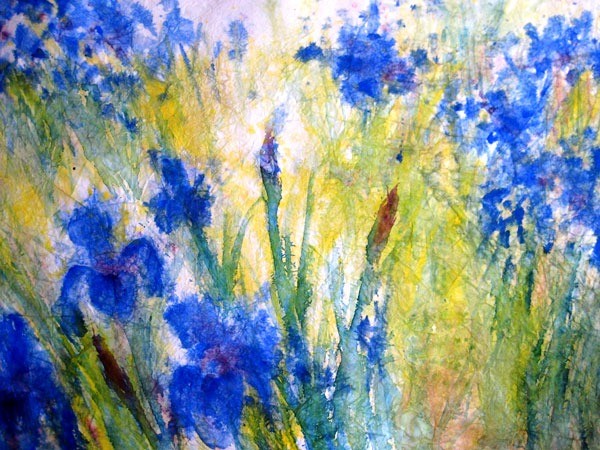
Crinkled masa paper - Irises in a field

Crinkled masa paper - "Irises in a field"

The irises pictured above have a different feel - almost diffused, or impressionistic. For the irises I painted on the back side of the masa paper, which has a slightly fuzzy texture. This would be the explanation for the diffused effect of the painting overall.

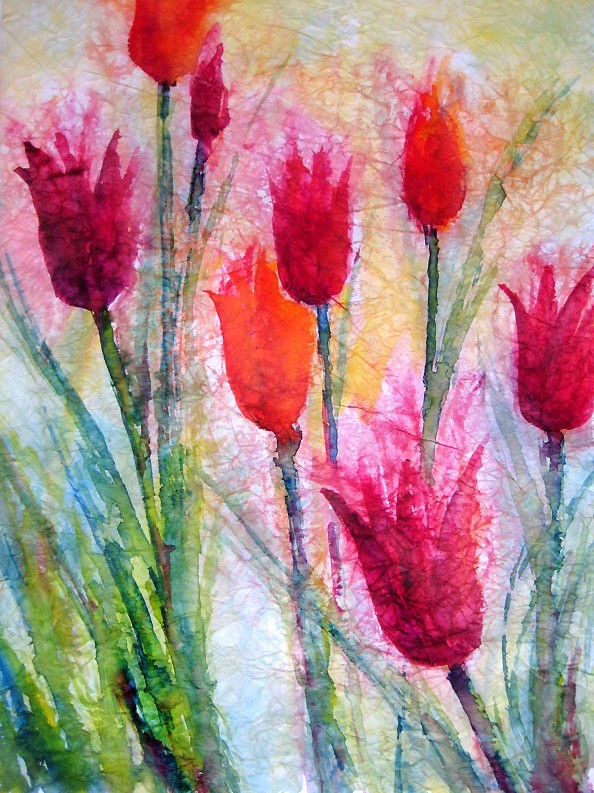
Crinkled masa paper - Spring tulips

Crinkled masa paper - "Spring tulips"

The tulips are another idea again - the spread of color into the background gives a feeling of movement that I wasn't expecting. All in all, a fun exercise and I like the experimentation!

FinnIrises

Masa paper - the crinkle technique

Inspired by Chinese artist, Cheng-Khee Chee, I've been experimenting with the masa paper crinkle technique. It involves soaking masa paper in water and balling it up into a crinkled mass. This step breaks the sizing in the paper and when you smooth it out it's left with a network of broken crinkle lines. When you paint into it the color seeps into the cracks enhancing the delicate lines.

Row of trees - masa paper crinkle technique

Chee did a lot of paintings of woods and trees using this technique. The cracks easily translate into tiny branches and woodsy textures.

My first try became a painting which I called "Row of trees". It's a small painting, about 8" x 10". I've already sold two prints of this painting at the Galleria, so I have decided to give it another go.

I started a large painting the other day, 31" x 21" sheet of masa paper, inspired by a beautiful blue iris garden I photographed over the weekend. From what I was reading about masa paper you can either paint on the smooth, shiny side of the paper, or on the slightly fuzzy backside. For this one I decided to go with the back as I like the texture.

I started with Ultramarine Blue for the flowers, creating the initial shapes of the composition by dropping the paint right into the very wet paper. The color fanned out beautifully, running up into the newly-created crinkles in the masa paper. Painting into wet paper is one of those techniques where you have to embrace the unexpected. You can't control where the color will go - you put it where you want it and then go with the flow.  In this case I think it's a nice start.

I kept moving, adding in lots of Aureolin Yellow and Antwerp Blue in the background, in layers of uneven color to get some modulation in tone. I added some Permanent Magenta to the flowers to give them some depth, careful to leave whites where I could. Then I left it to dry. When I came back in I started adding harder edged areas of grasses and stalks, being sure to soften them here and there. I also added more ultramarine blue to the petals to start building up definition.

It's going in a good direction, but I don't think it's quite done yet. Next step is to flatten the painting. Methods I've read about include gluing the masa to a backing sheet, flattening with a brayer as I go. I like working with the lighter weight paper though, so I think I'll try dampening it and putting a warm iron to the back side and see where that gets me. Once it's flat I'll continue adding sharper details to the foreground and a bit to the midground. I think I'll leave the back row of flowers soft to enhance depth in the final composition.

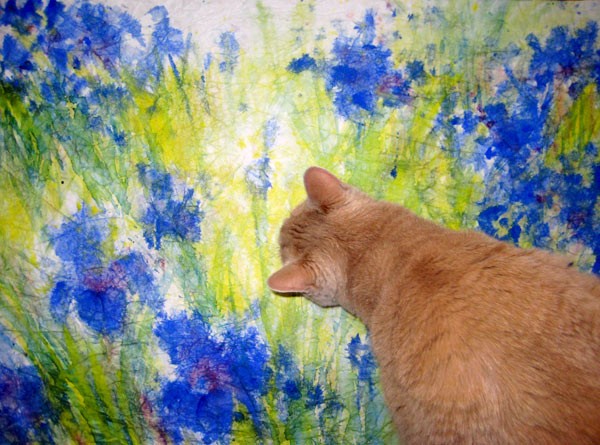
Above - my cat Finnegan was having a close look, and I think he agrees it needs more work.

abstractpoppies

Gallery night - woohoo!

Thank you to everyone who showed up on Friday night (June 3), for my official opening at the Andersonville Galleria. All my Chicago people turned up, even the driving in from the far suburbs, and my family also made it down from Milwaukee - yay! What a fabulous turn out!

This was my first attendance at the Galleria's monthly "First Friday" event - and what a load of fun! Wine is served (and I put out some snacks) and they stay open until 10pm. The weather was wonderful and the gallery was packed and everyone had a wonderful time.

The following prints were snapped up that night - thank you to all for your support!

[nggallery id=8]

RO

Sign up for the mailing list.

©2024 Rochelle Weiner Carr Fine Art, All Rights Reserved