
Currently studying watercolor techniques with Karlyn Holman - today was abstract day. We worked with collage and watercolor for half the day and the other half of the day we learned to work with alcohol inks. Having a ton of fun!
-

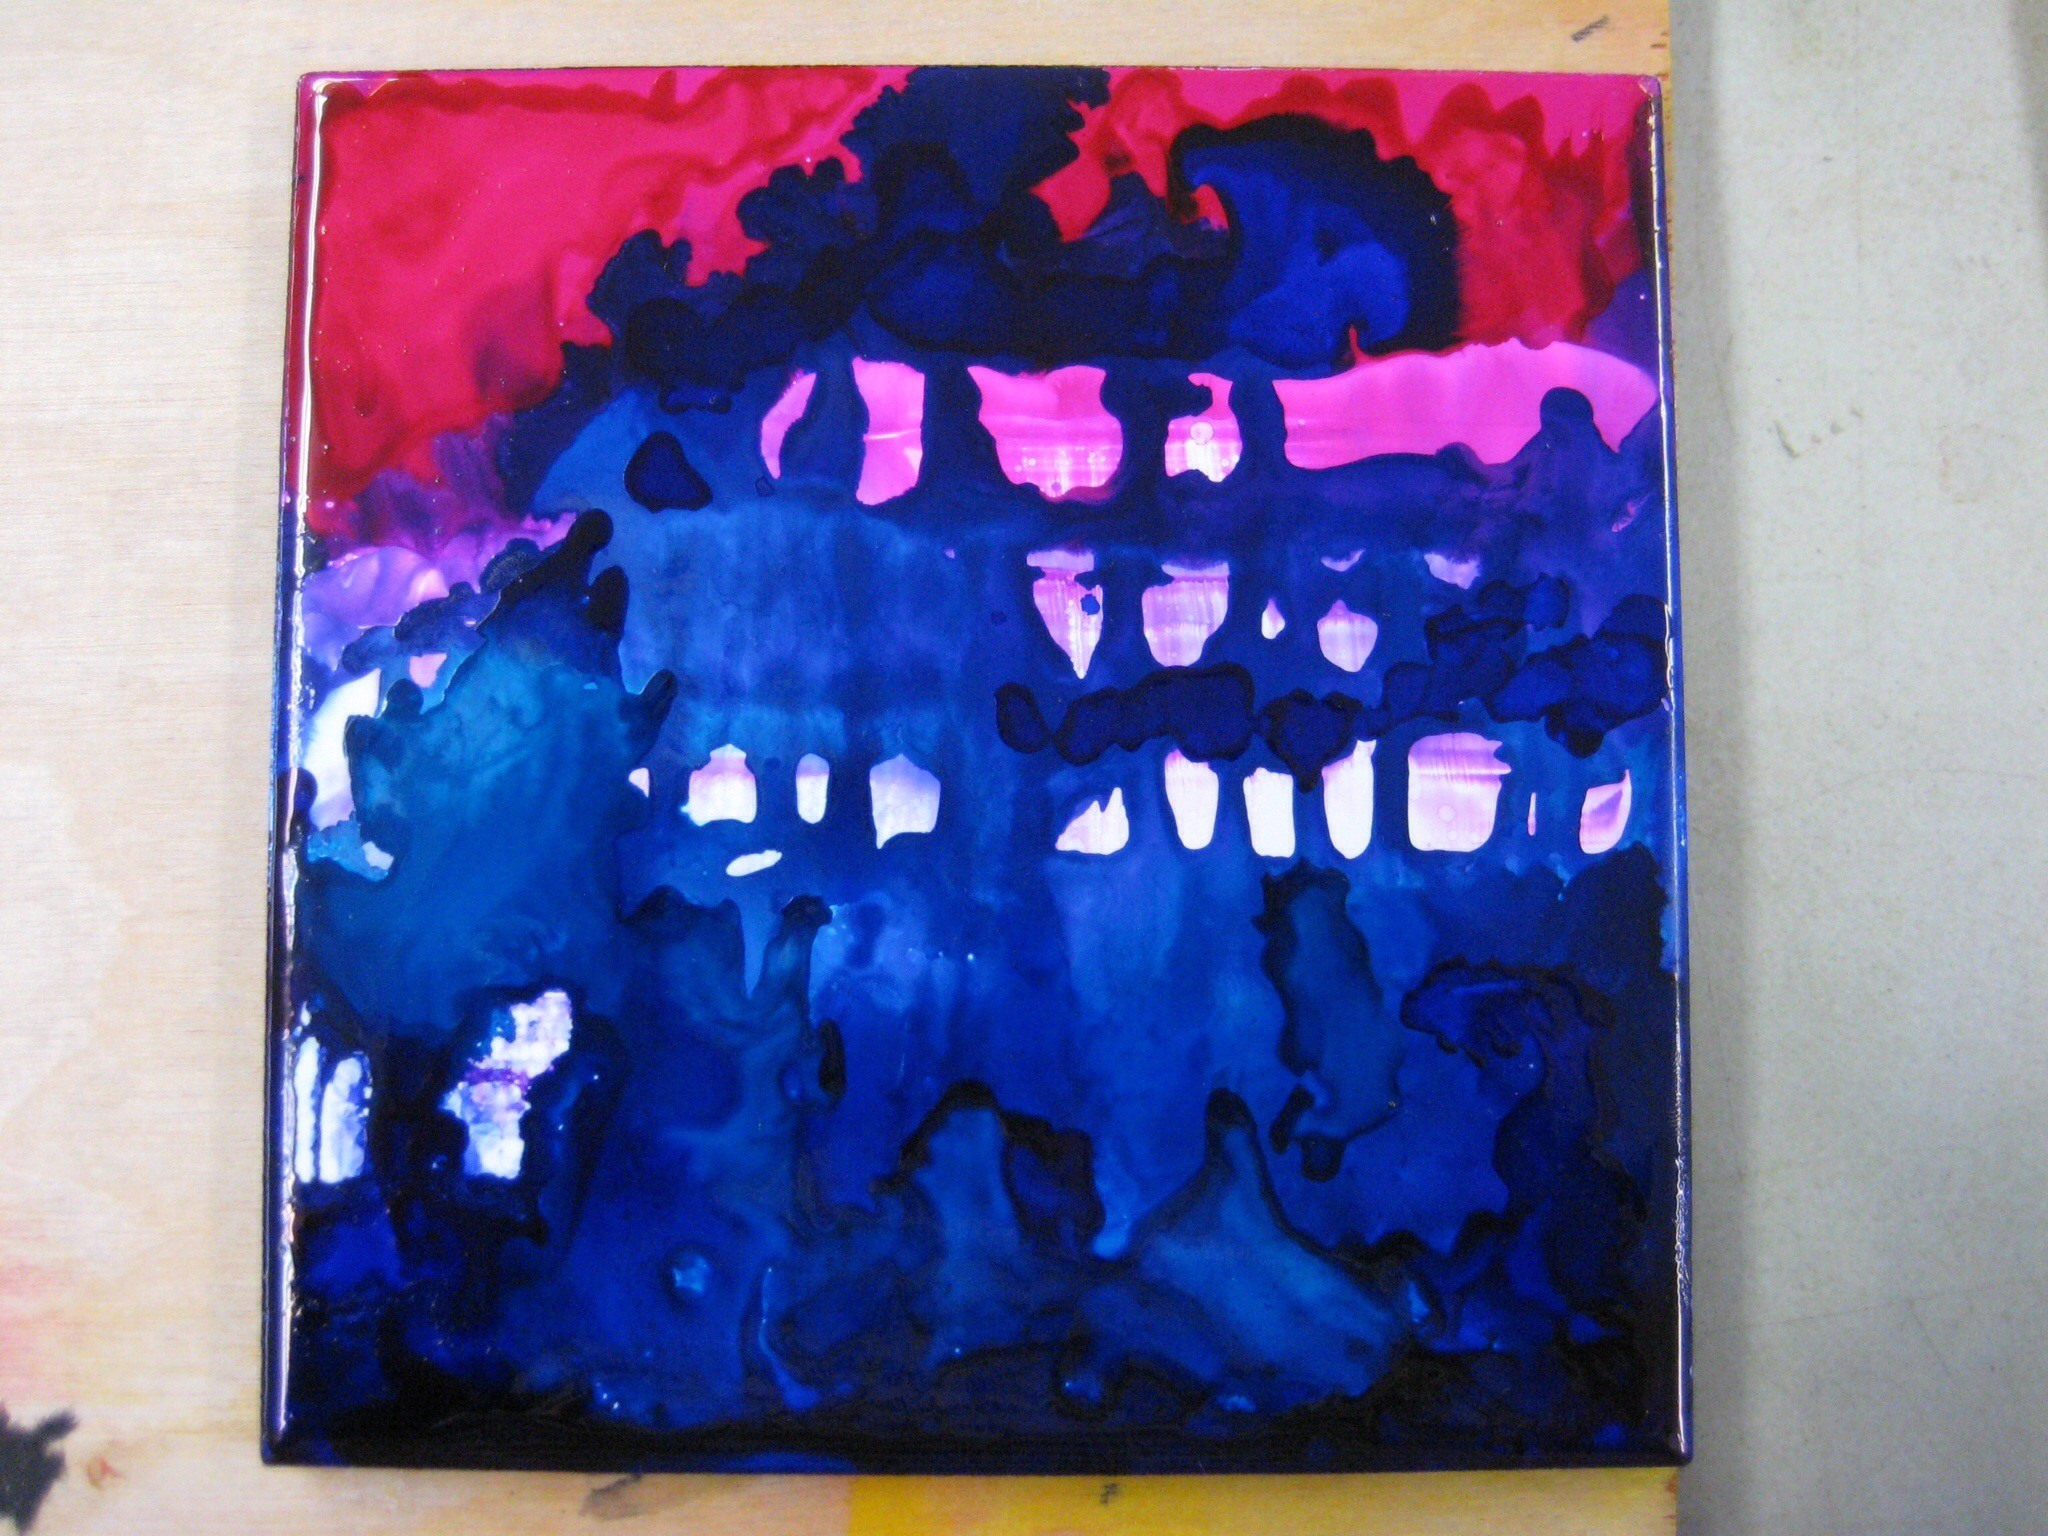
- Alcohol inks on ceramic tile
-

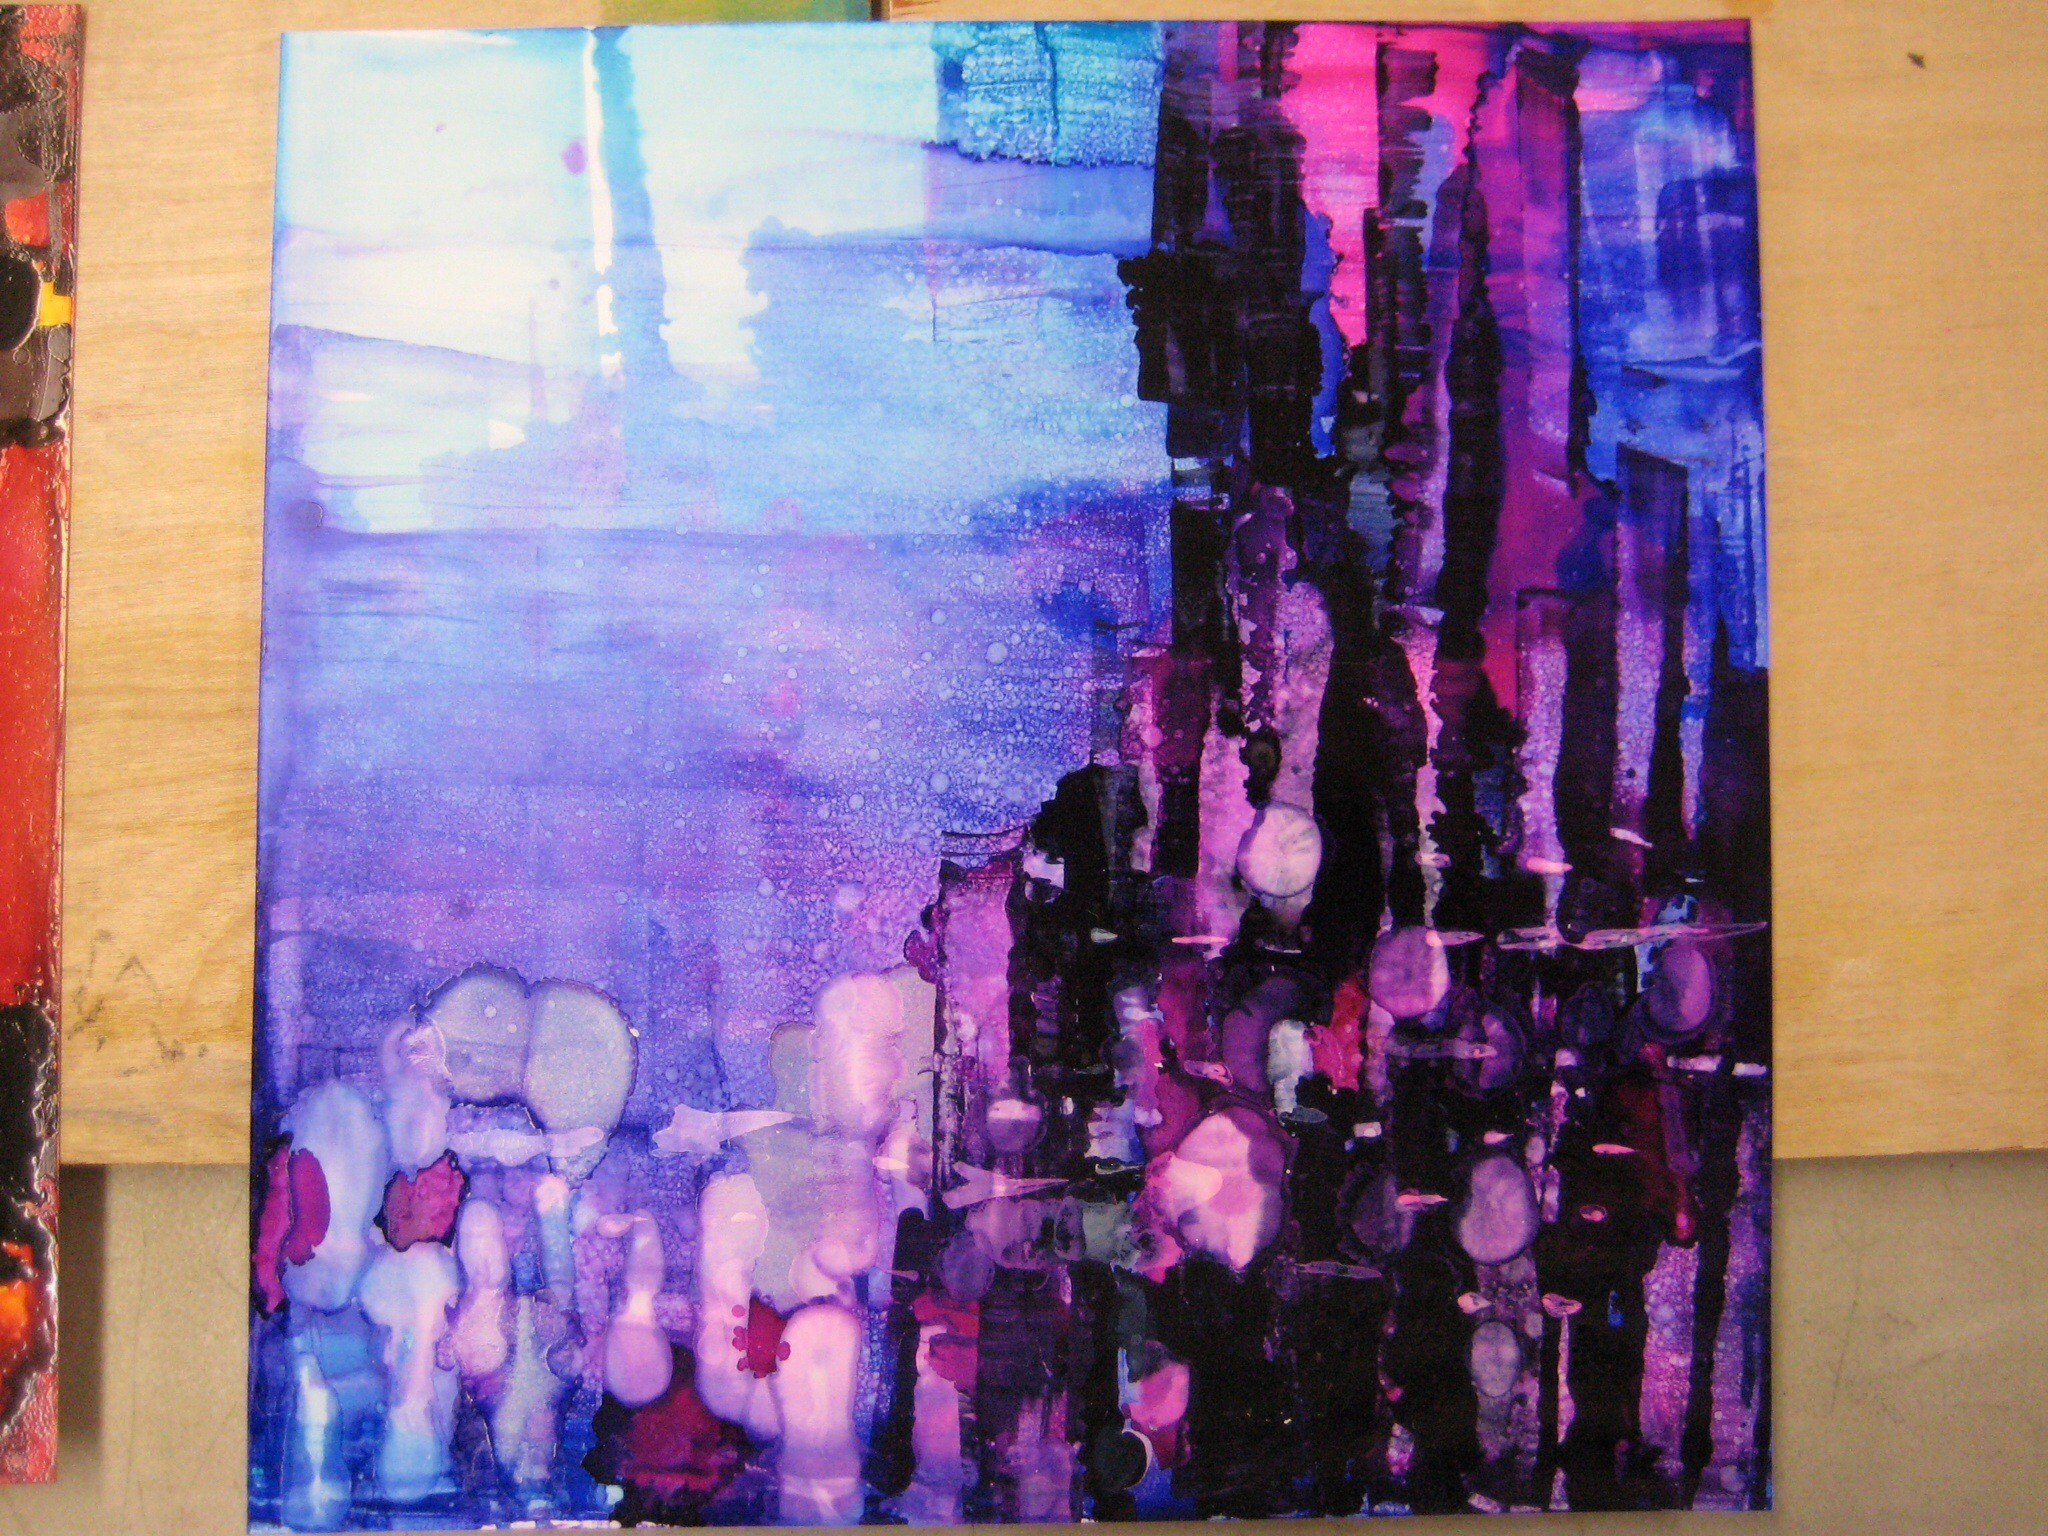
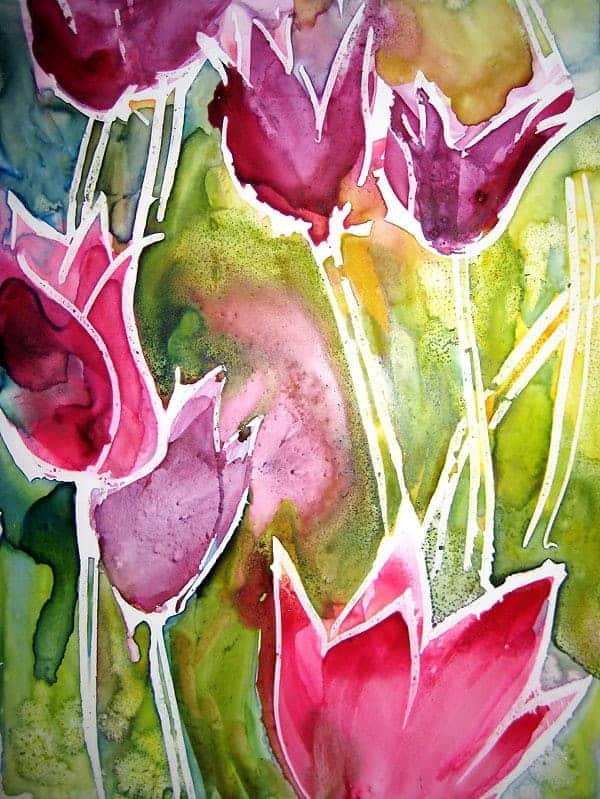
- Alcohol inks on Yupo paper
-
- Alcohol inks on Yupo paper

-
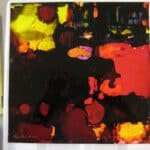
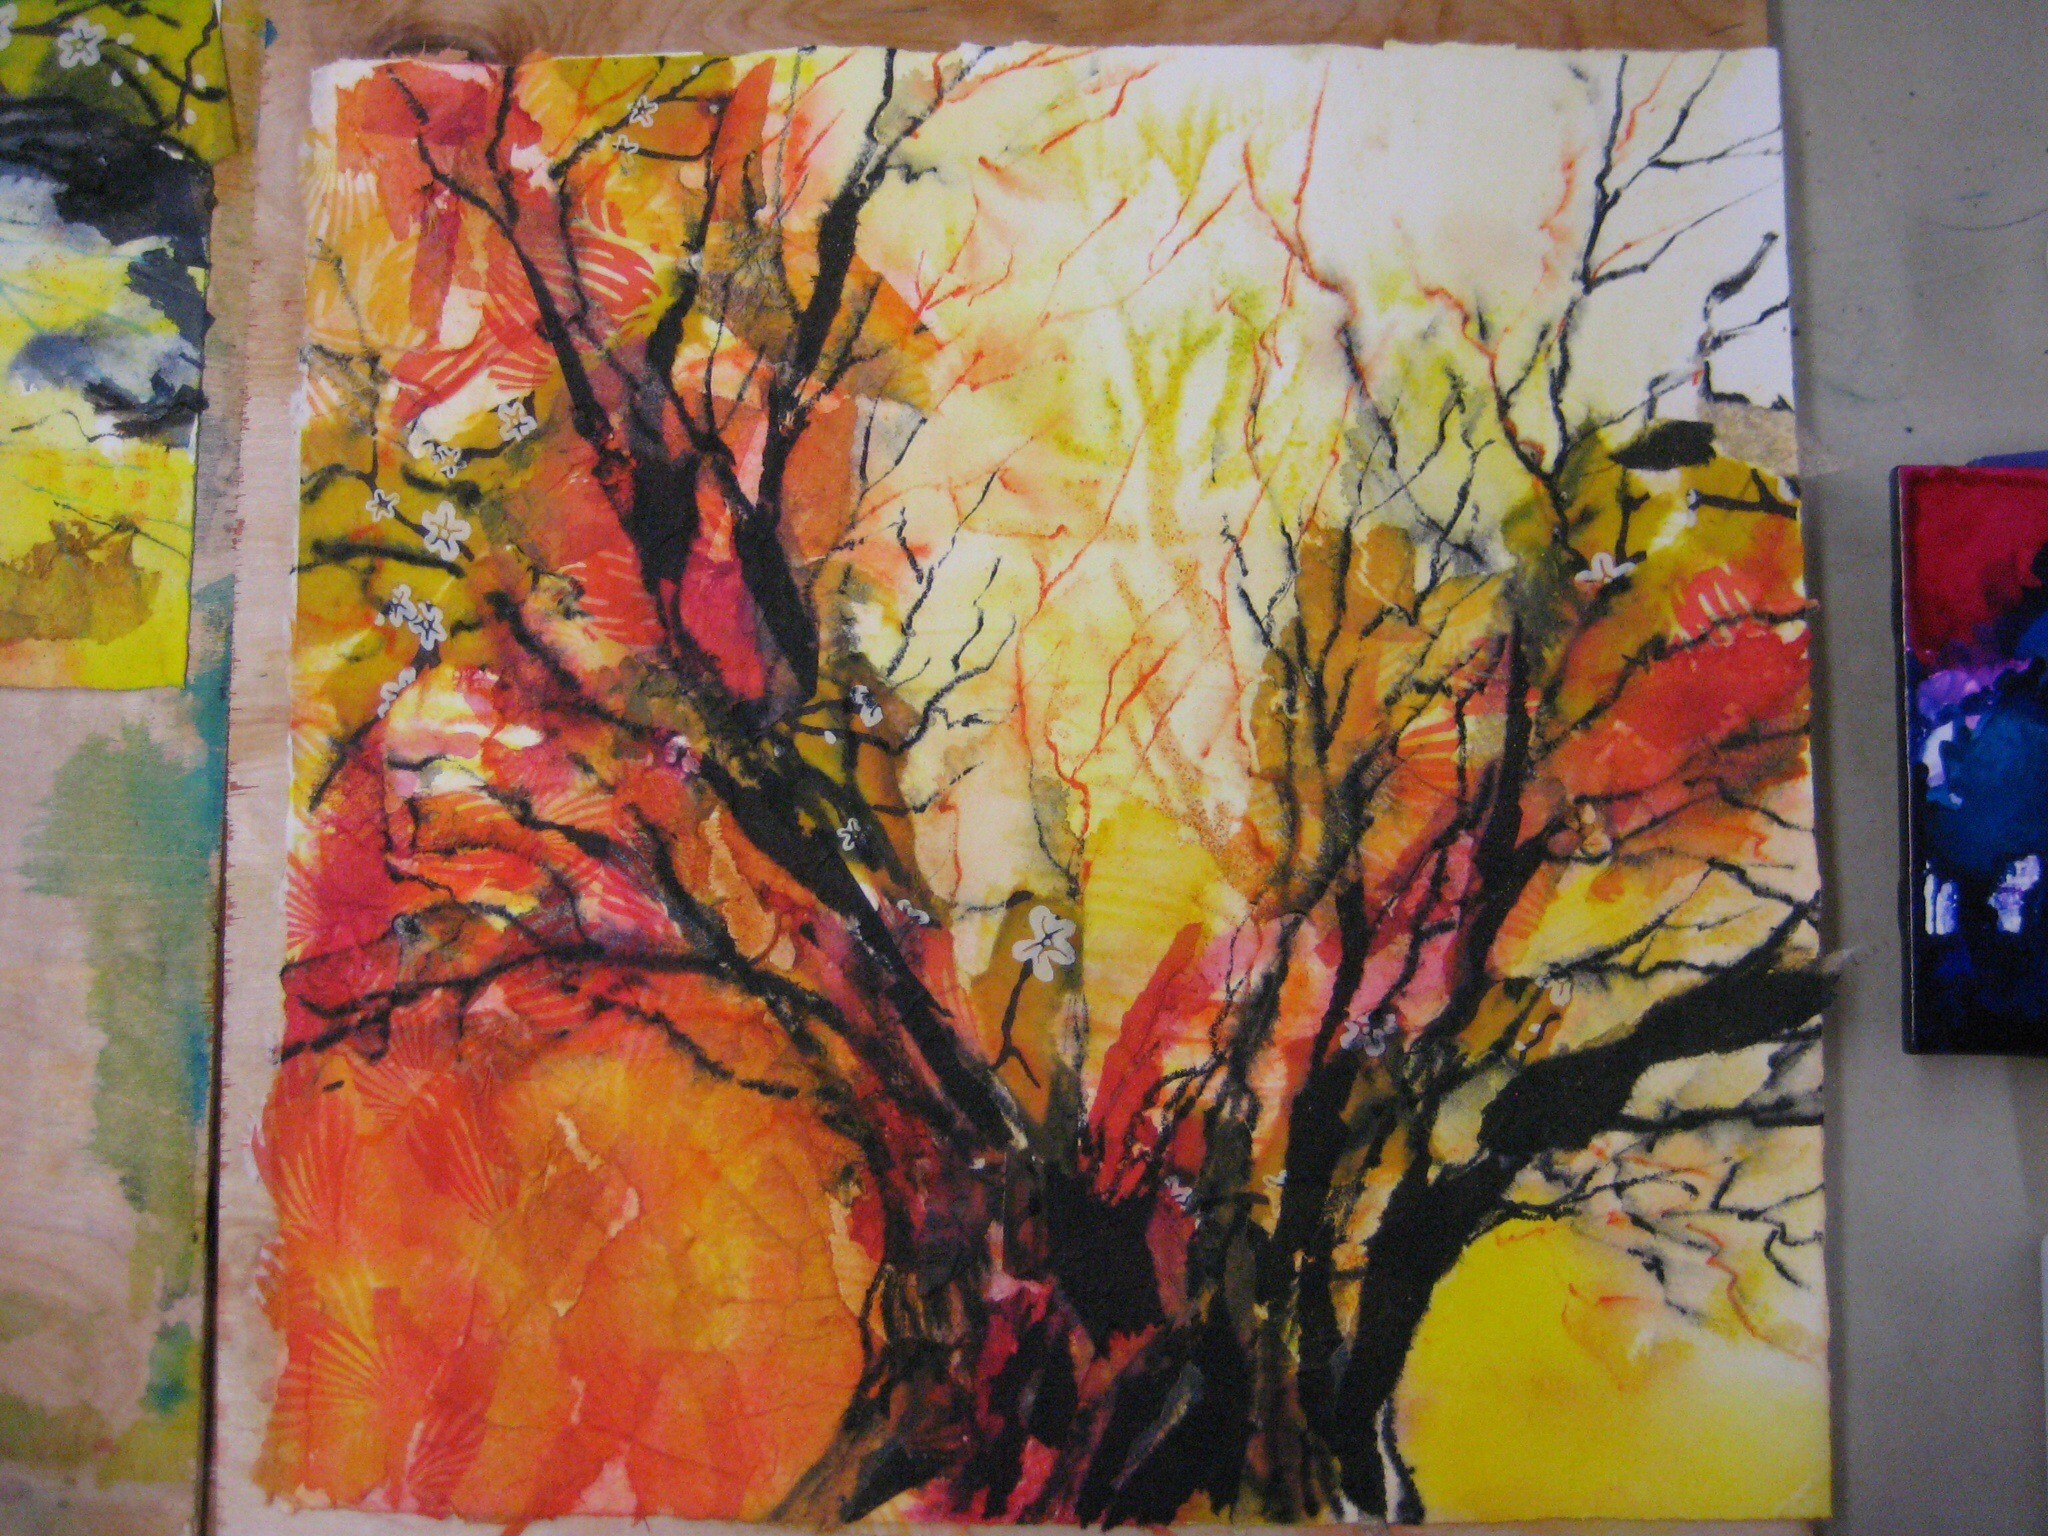
- Mixed media and collage
-
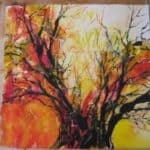
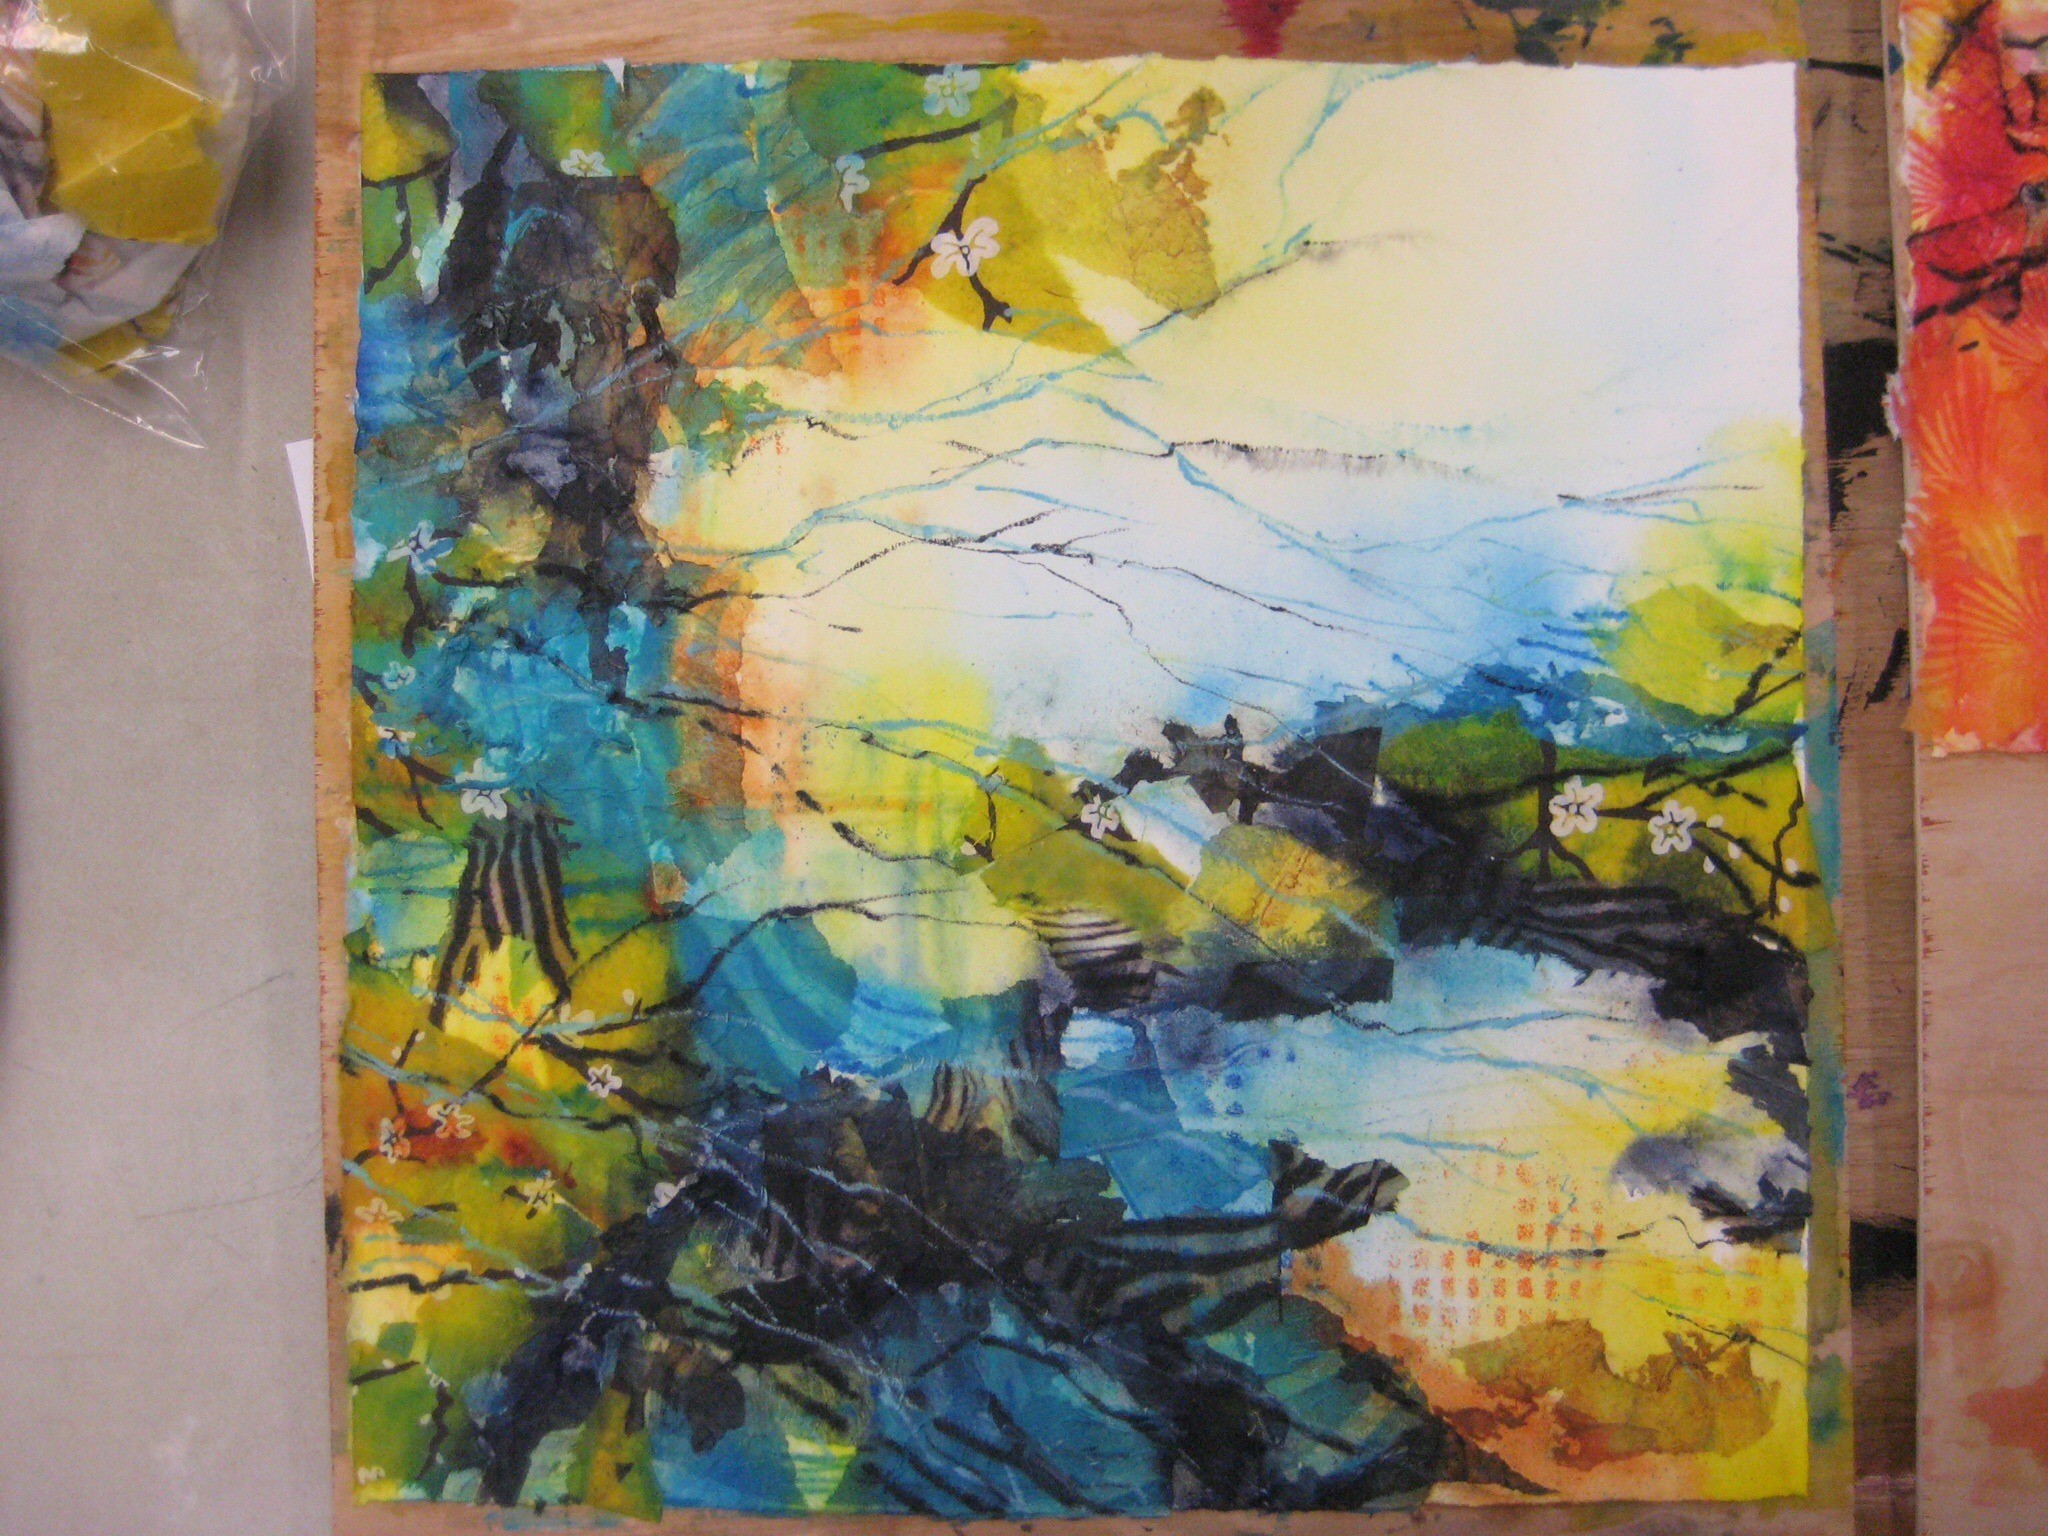
- Mixed media and collage


Recent Comments