Hustling to my exercise class the other day at Galter Life Center in Chicago, I stopped in my tracks. I was running late, only minutes to check in, whip off my street togs, shower down and jump in the pool for the class that was about to start… but yet I stopped where I was, and reached into my bag.
You never know when you will find inspiration. For me I can say what will usually inspire me – intense color and great light. This is what I found the other day, a perfect combo. Outside the gym, the daylilies were blooming and the sun was hitting at such an angle I just couldn’t walk right by without trying to capture the moment. I had to snap a few.
I wasn’t sure if I got anything good I finally downloaded today and I think these are the best of the pack. Can’t wait to try and start painting them!

Original photo - "Shadows and daylilies"

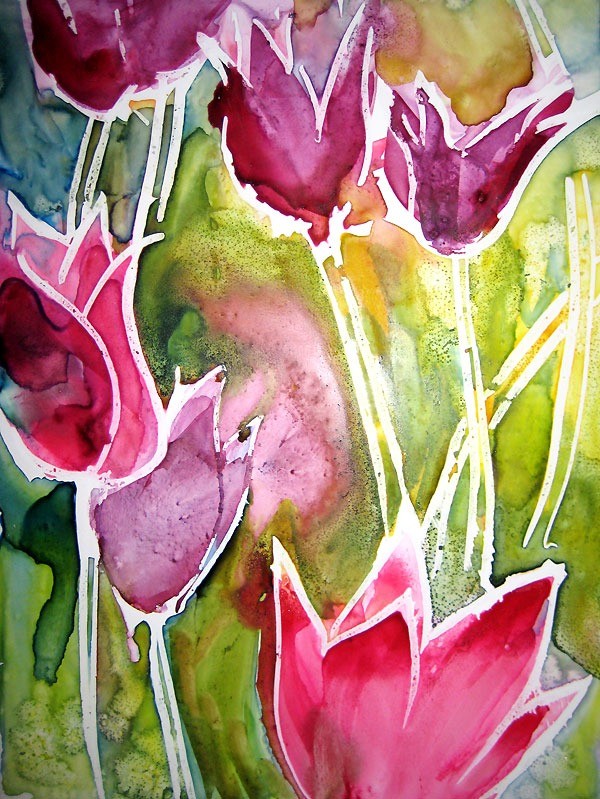
Daylilies

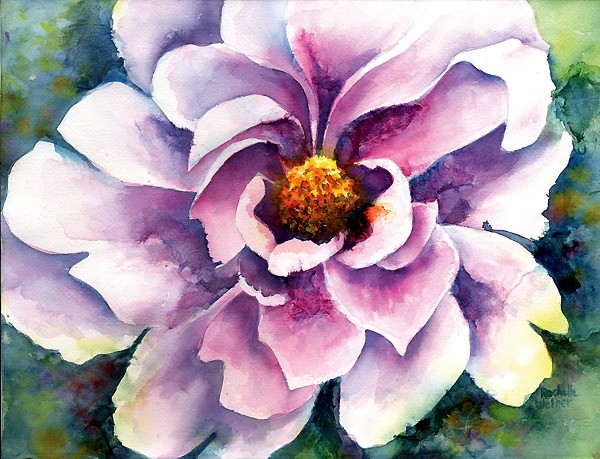
Close up of daylily

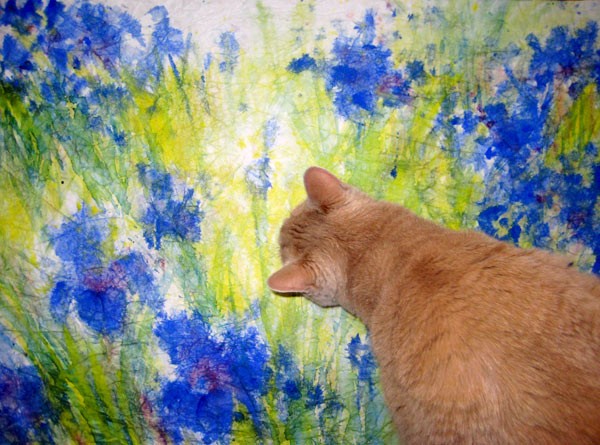
Under the tree

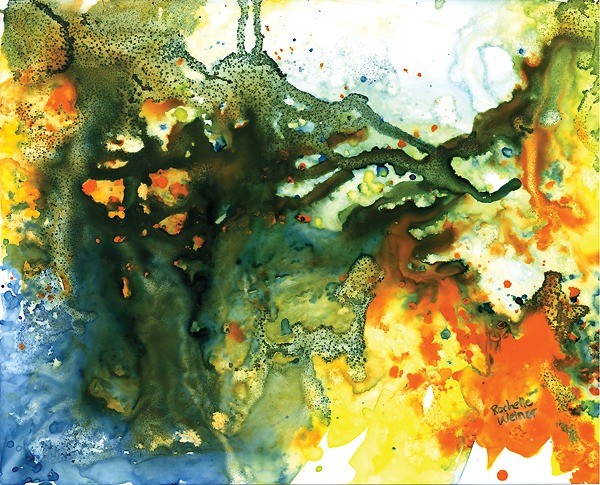
Fall in summer


Recent Comments